Saving a screen capture to disk has some interesting edge cases when using ScreenCaptureKit. The documentation and WWDC videos don't really cover using the captured frame samples. We created an example.


Tom Lokhorst, Mathijs Kadijk
Note: ScreenRecordingKit works in macOS 12.3 and later, if you need a solution that works on older macOS versions, check out “Recording to disk using AVCaptureScreenInput”.
tldr; Use an AVAssetWriter to save CMSampleBuffers in a SCStreamOutput callback. See our GitHub for a detailed example.
Perfect for app demos & presentations; Simply plug in an iPhone or wirelessly mirror it to your Mac.
ScreenCaptureKit is awesome, it allows for many custom filters to only capture specific content, and it is very efficient. In our recent project to build a new recording backend for Screen Studio, we needed to create a screen recording on macOS and write the output to a file on disk.
The WWDC talks introducing and going deeper into ScreenCaptureKit are great introductions to the new framework, but don’t detail how to write to file.
For Screen Studio, we need to save the recorded screen capture to a file on disk. Searching online, we didn’t find examples of this. Presumably most users of this new API are video conferencing apps, that stream of the network, instead of writing to disk.
During our development, we encountered some issues; the screen recording had black bars around it, it was blurry, and it didn’t work on a 5K display. We decided to do a dive deep into all these issues, this is what we found out:
This details a simplified overview of how to set everything up, ignoring all the edge cases.
An AVAssetWriter is used to create QuickTime and H.264 video files. It can write out files with multiple tracks both audio and video. A single track can be written using an AVAssetWriterInput.
let assetWriter = try AVAssetWriter(url: url, fileType: .mov)
let videoInput = AVAssetWriterInput(mediaType: .video, outputSettings: nil)
assetWriter.add(videoInput)
Prepare the AVAssetWriter by calling startWriting, then start a session:
assetWriter.startWriting()
let now = CMClock.hostTimeClock.time
assetWriter.startSession(atSourceTime: now)
Setup the SCStream and add an object for receiving callbacks when CMSampleBuffers are available:
let stream = SCStream(filter: filter, configuration: configuration, delegate: **nil**)
try stream.addStreamOutput(streamOutput, type: .screen, sampleHandlerQueue: videoSampleBufferQueue)
try await stream.startCapture()
And finally, in the stream(_:didOutputSampleBuffer:of:) function, append the CMSampleBuffer to the AVAssetWriterInput.
func stream(_ stream: SCStream, didOutputSampleBuffer sampleBuffer: CMSampleBuffer, of type: SCStreamOutputType) {
    // … code removed for simplicity, see GitHub for complete example
    videoInput.append(sampleBuffer)
}
To stop the recording, end the session on the AVAssetWriter and finish writing:
let now = CMClock.hostTimeClock.time
assetWriter.endSession(atSourceTime: now)
videoInput.markAsFinished()
await assetWriter.finishWriting()
Note that the above code is greatly simplified, and doesn’t handle all the edge cases. Let’s look at some of these edge cases.
To make sure you’re recording full screen video, without black bars that is as sharp as possible for retina displays. Configure both the AVAssetInputWriter and the SCStreamConfiguration with the correct values.
AVAssetInputWriter takes an outputSettings of type [String : Any]?. To help with constructing this dictionary, use AVOutputSettingsAssistant.
let displaySize = CGDisplayBounds(displayID).size
let mode = CGDisplayCopyDisplayMode(displayID)!

// The number of physical pixels that represent a logic point on screen, currently 2 for MacBook Pro retina displays
let displayScaleFactor = mode.pixelWidth / mode.width

// AVAssetWriterInput supports maximum resolution of 4096x2304 for H.264
// Downsize to fit a larger display back into in 4K
let videoSize = downsizedVideoSize(source: displaySize, scaleFactor: displayScaleFactor)

// This preset is the maximum H.264 preset
// Make this as large as possible, size will be reduced to screen size by computed videoSize
let assistant = AVOutputSettingsAssistant(preset: .preset3840x2160)!
assistant.sourceVideoFormat = try CMVideoFormatDescription(videoCodecType: .h264 , width: videoSize.width, height: videoSize.height)

var outputSettings = assistant.videoSettings!
outputSettings[AVVideoWidthKey] = videoSize.width
outputSettings[AVVideoHeightKey] = videoSize.height

// Create AVAssetWriter input for video, based on the output settings from the Assistant
let videoInput = AVAssetWriterInput(mediaType: .video, outputSettings: outputSettings)
The values supplied in AVVideoWidthKey and AVVideoHeightKey need to be integers. The width or height can’t be larger than 4096x2304 or AVAssetWriterInput will crash (at least, at the time of writing, January 2023).
The function downsizedVideoSize computes a width and height that is as large as possible, without exceeding the 4K limit. On a 5K display of 5120x2880 physical pixels, this is scaled back to 4096x2304.
// AVAssetWriterInput supports maximum resolution of 4096x2304 for H.264
private func downsizedVideoSize(source: CGSize, scaleFactor: Int) -> (width: Int, height: Int) {
    let maxSize = CGSize(width: 4096, height: 2304)

    let w = source.width * Double(scaleFactor)
    let h = source.height * Double(scaleFactor)
    let r = max(w / maxSize.width, h / maxSize.height)

    return r > 1
        ? (width: Int(w / r), height: Int(h / r))
        : (width: Int(w), height: Int(h))
}
To configure the SCScreenConfiguration, set the width and height, which is the original display size, multiplied by the scaleFactor (for retina).
let configuration = SCStreamConfiguration()
configuration.width = Int(displaySize.width) * displayScaleFactor
configuration.height = Int(displaySize.height) * displayScaleFactor
To make sure we don’t start of with black frames, or the duration is too short, we need to handle some special cases.
An AVAssetWriter session is started at a specified sourceTime, all subsequent samples that are appended to the AVAssetWriterInput contain a presentationTimeStamp that is relative to this source time.
If we start at “now”, but then wait for the first frame to be available, the first frame of the video is missing. We have two options to prevent this:
.zero and retime all CMSampleBuffers with a relative timestampIn the GitHub example, we choose the second option:
var firstSampleTime: CMTime = .zero
var lastSampleBuffer: CMSampleBuffer?

func stream(_ stream: SCStream, didOutputSampleBuffer sampleBuffer: CMSampleBuffer, of type: SCStreamOutputType) {
    // … code removed for simplicity, see GitHub for complete example

    // Save the timestamp of the current sample, all future samples will be offset by this
    if firstSampleTime == .zero {
            firstSampleTime = sampleBuffer.presentationTimeStamp
    }

    // Offset the time of the sample buffer, relative to the first sample
    let lastSampleTime = sampleBuffer.presentationTimeStamp - firstSampleTime

    // Create a new CMSampleBuffer by copying the original, and applying the new presentationTimeStamp
    let timing = CMSampleTimingInfo(duration: sampleBuffer.duration, presentationTimeStamp: lastSampleTime, decodeTimeStamp: sampleBuffer.decodeTimeStamp)
    let retimedSampleBuffer = try! CMSampleBuffer(copying: sampleBuffer, withNewTiming: [timing])
        videoInput.append(retimedSampleBuffer)
        lastSampleBuffer = retimedSampleBuffer
}
Now that we start the session at .zero, we also need to make sure we end the video at the correct time, for that we can use the time of the last frame:
assetWriter.endSession(atSourceTime: lastSampleBuffer?.presentationTimeStamp ?? .zero)
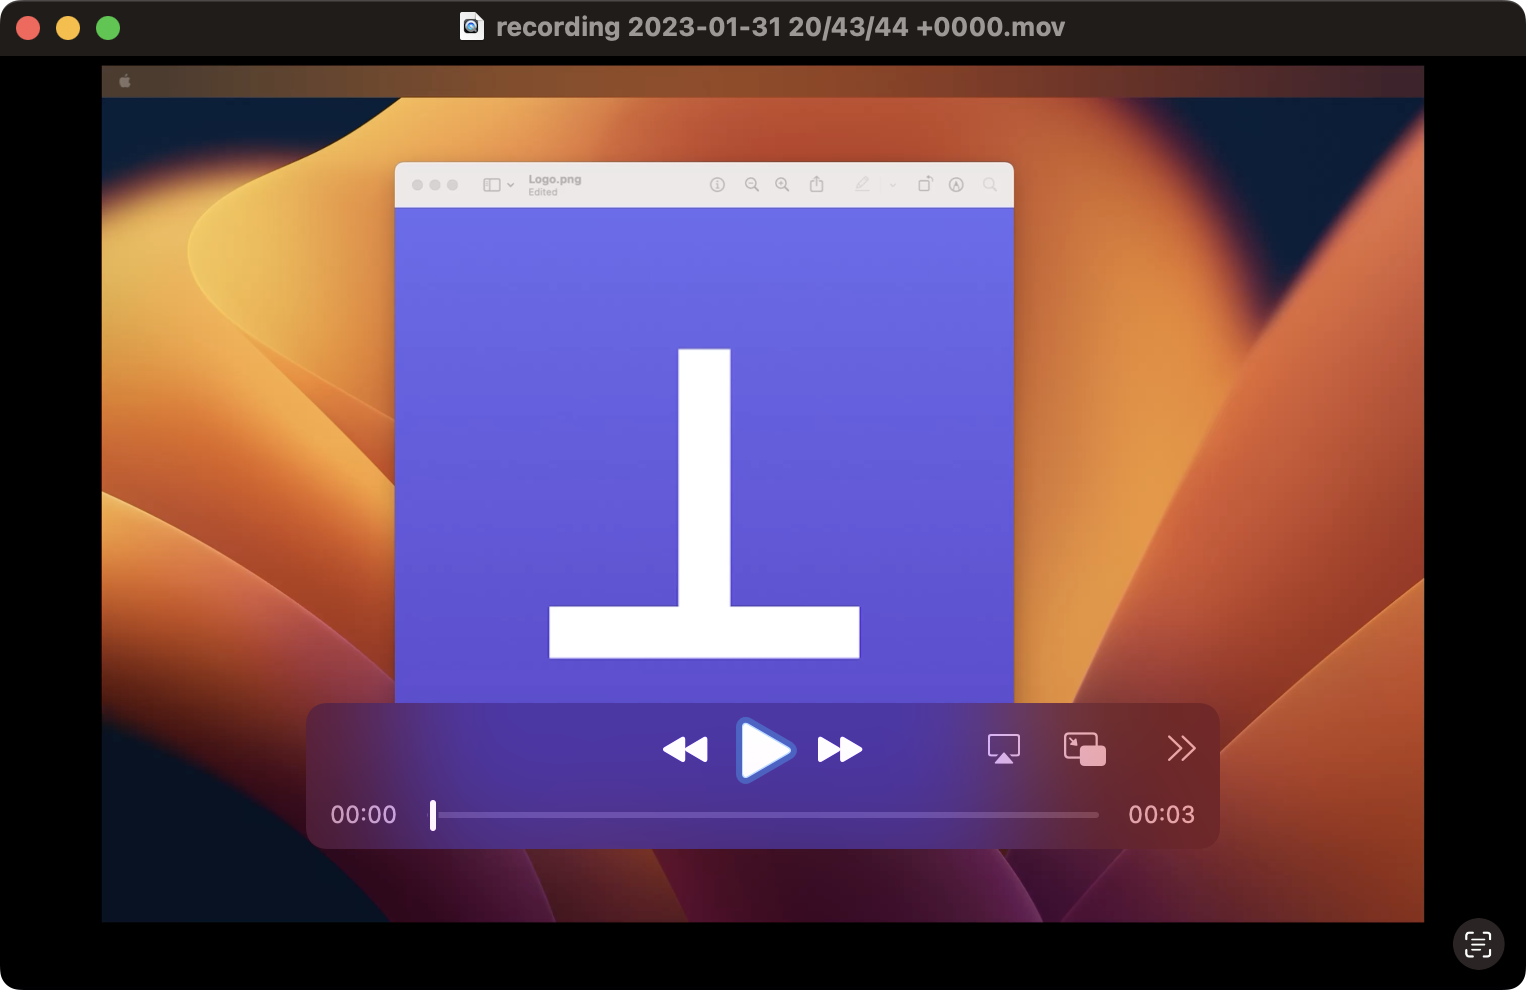
With one final edge case; If we make a 10 second recording of a screen where nothing ever changes, we will only ever get 1 frame. The resulting video is 30ms long, not 10 seconds. To fix this, we repeat the last frame, with a new time:
// Repeat the last frame and add it at the current time
// In case no changes happend on screen, and the last frame is from long ago
// This ensures the recording is of the expected length
if let originalBuffer = lastSampleBuffer {
    let now = CMClock.hostTimeClock.time
    let additionalTime = now - streamOutput.firstSampleTime
    let timing = CMSampleTimingInfo(duration: originalBuffer.duration, presentationTimeStamp: additionalTime, decodeTimeStamp: originalBuffer.decodeTimeStamp)
    let additionalSampleBuffer = try CMSampleBuffer(copying: originalBuffer, withNewTiming: [timing])
    videoInput.append(additionalSampleBuffer)
    lastSampleBuffer = additionalSampleBuffer
}

// Stop the AVAssetWriter session at time of the repeated frame
assetWriter.endSession(atSourceTime: streamOutput.lastSampleBuffer?.presentationTimeStamp ?? .zero)
On GitHub we have the full example, with all edge cases covered, in a SPM package.
To run this, clone the repo and run:
swift run sckrecording
Perfect for app demos & presentations; Simply plug in an iPhone or wirelessly mirror it to your Mac.

